
My daughter and I recently did our basement living room area makeover on the cheap - like under $125. Our basement walls have dark paneling so we wanted to paint it and make it brighter down there. So after painting, we needed to have some decor (which up to this point has been pretty much non-existent), and I had come across a post for these DIY photo clipboards from Love Grows Wild. I thought it would be a good way to take up a lot of room on an empty wall since I could do the 3 kids and one of my hubby and I. Another thing that appealed to me is how easy it is to change the photo since I do like to change pics of my kids frequently. LGW had done hers in all stained wood, but after just getting rid of all the wood look, I decided to paint mine the same color that we had painted an accent wall. I am really pleased with how they turned out! Even my hubby, who doesn't really comment a whole lot on my projects, really liked these. I did do 4 painted and 2 stained. I like the look of them both! I will find a home for the stained ones other than the basement.
I went to my local Home Depot (I'm sure Lowe's or Menards would have the same) and picked out a 1x12x6 board of better pine that was just a little over $6. I kindly asked the lumber guy to cut the board for me into 6 equal pieces. That was so handy! (another reason my hubby liked them so well - because it wasn't him that had to cut the wood!)
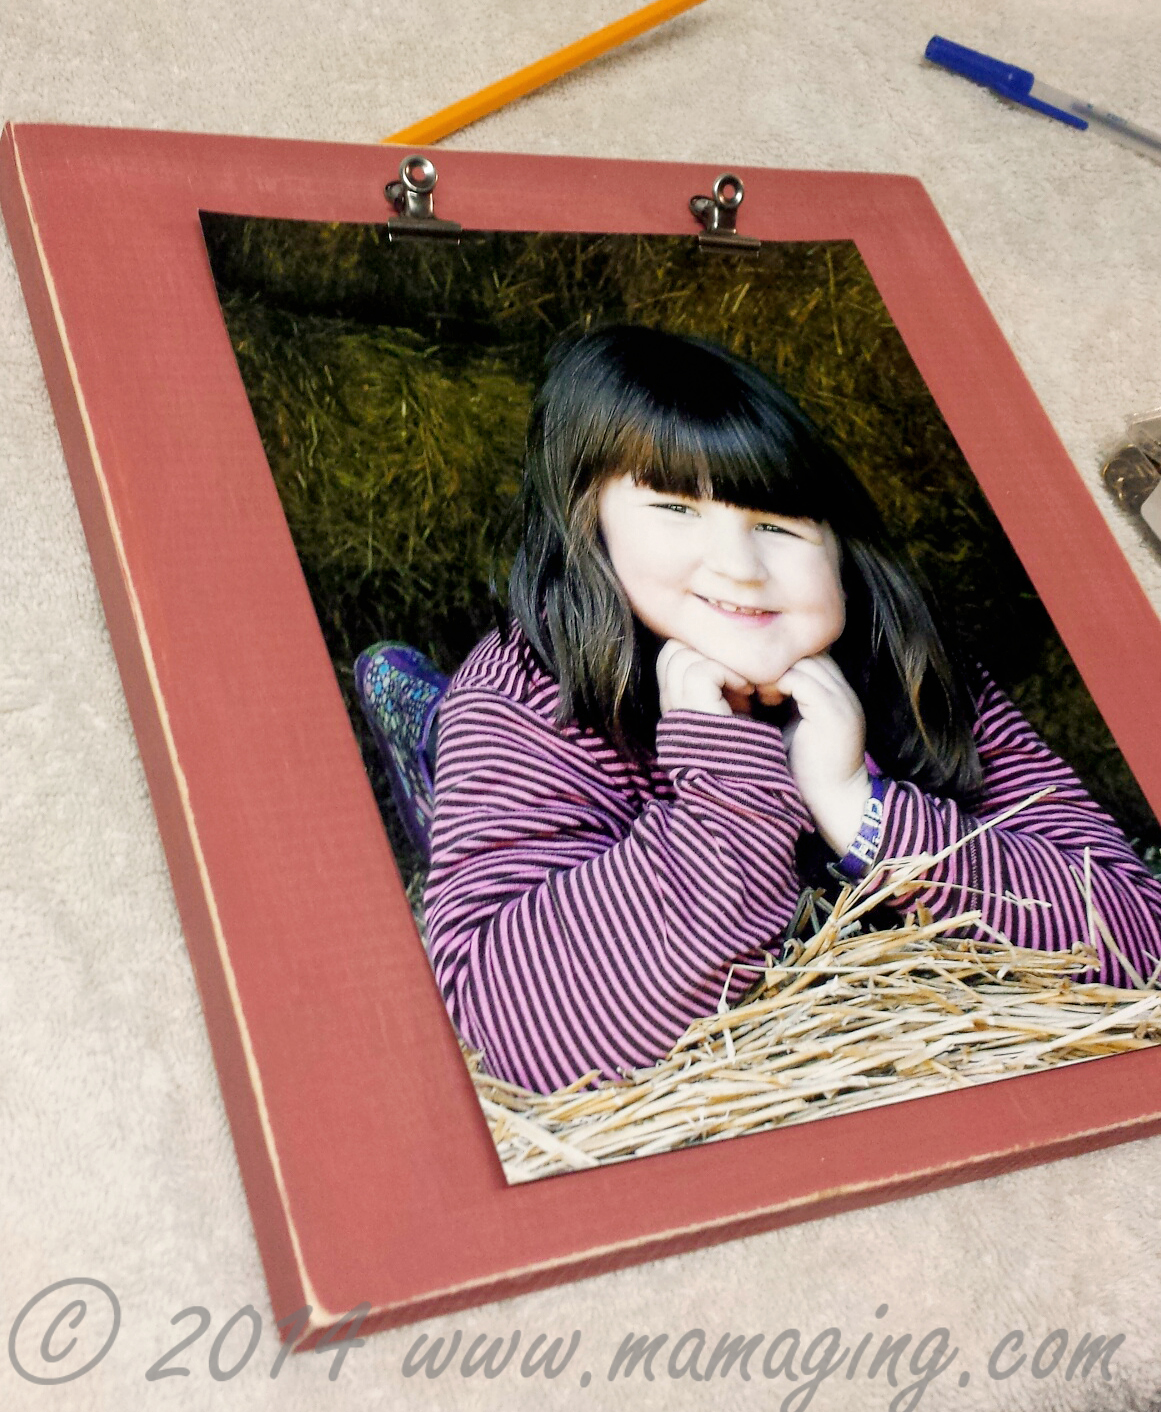
Then I stopped at Hobby Lobby and bought the clipboard clips. They can be found in the scrapbooking section. They were $5.99 but 50% off at the time, but you can always use a 40% coupon if they aren't on sale. They look like this and come in a package of 12:

I had my paint, my pre-stain/stain/conditioner and foam brushes already at home. I also planned to use my soda can tab as my method of hanging it, and I wasn't convinced of her way of super gluing the clips on - in my opinion that just doesn't seem like it would hold very long, especially if I plan to frequently open them up to change the pictures. So, I scoured my hubby's workroom for some screws and came up with some small enough to fit the holes.
So I first sanded down my boards and the edges where the lumber guy cut.

Then I painted 2 coats (for the stained ones I did a coat of conditioner, 2 coats of stain and then the finish.)

After my paint was dry, I sanded down the edges to look a little worn. I did the same with the stained boards.

Then I measured the center of the top for the hanger. I used an upholstery tack (that I already had) to affix the tab, using a hammer to securely pound it in.


Then I measured 1" from the top and marked at 3.5" and 7.5" for the 2 clips and screwed those in.


Now I was ready to clip my photos on and hang up!


The wall above the couch....

The project total cost for out of pocket:
1"x12"x6' board (into 6 pieces) $6.13
Pkg of 12 clips $3.00
6- 8x10 reprints from Sam's Club $8.96
No expense for paint, stain, sandpaper, soda tabs, screws, foam brushes & upholstery tacks.
Total: $18.09 divided by 6 boards = $3.02 each.
Wow, what a great gift to make someone too!

Check out where I Link Party and share my posts!

Great job Jill! Makes me want to take a trip to Lowe's!
ReplyDeleteyou are so talented! liking your blog too and hope we can stay in touch! Teresa from NanaHood.com
ReplyDeleteThis is so awesome! Great photos and project:) Pinning
ReplyDeleteThanks Christie, Teresa & Michele! Glad you stopped by! :) ~ Mama Ging
ReplyDelete